A Parent’s Guide to Starting Toy Rotation: Simplify Play, Spark Creativity
—
Introduction
If your child’s playroom looks like a toy store after a tornado, you are not alone. Mountains of plastic, scattered puzzle pieces, and ignored dolls are a common sight in many households. Yet, despite the abundance, children often complain, “I’m bored!” The problem is not a lack of toys—it is a lack of novelty and intentional organization. Enter toy rotation: a parenting strategy that involves storing most toys out of sight and rotating a small selection into the child’s accessible space on a regular basis. This method reduces clutter, extends the lifespan of toys, and—most importantly—deepens a child’s engagement and creativity. Starting a toy rotation may feel daunting, but with a structured approach, any parent can implement it successfully. This guide will walk you through every step, from sorting and decluttering to maintaining the system long term.
—
Why Toy Rotation? The Overlooked Benefits
Before diving into the “how,” it is essential to understand the “why.” Toy rotation is not just about tidiness; it is rooted in developmental psychology. Young children thrive when their environment is orderly yet stimulating. When too many toys are available simultaneously, the brain becomes overwhelmed. Instead of playing deeply with one item, a child flits from toy to toy, never reaching the state of focused, imaginative play that builds problem-solving skills and attention span.
Rotating toys addresses this by enforcing a “less is more” principle. With fewer choices, children are forced to explore each item more thoroughly. A simple set of wooden blocks becomes a castle, a spaceship, or a bridge, rather than just another object ignored in a sea of options. Additionally, rotation creates a sense of anticipation. When a toy reappears after a few weeks, it feels new and exciting again, saving you money and reducing the urge to buy more. For parents, the benefit is equally significant: a smaller daily mess, easier cleanup, and a calmer home environment. Understanding these advantages will motivate you to stick with the process, especially during the initial sorting phase, which can be emotionally taxing.
—
Getting Started: The Great Declutter
The first step in toy rotation is not rotation at all—it is ruthless decluttering. You cannot rotate what you do not keep, and you cannot keep what is broken, incomplete, or no longer age-appropriate. Set aside a weekend morning when your child is occupied (or better yet, involve them in a simple “keep or donate” game). Gather all toys from every corner of the house: bedrooms, living room, car, and even the bathtub. Spread them out on the floor.
Now, sort into four piles:
- Keep (in rotation) – Toys in good condition that your child currently plays with or is about to grow into.
- Keep (sentimental or display) – Special keepsakes, heirloom toys, or items you want to save for future siblings. These should be stored separately, not in the rotation bin.
- Donate or sell – Toys that are intact but no longer loved. Check local charities, toy libraries, or online marketplaces.
- Trash – Anything broken, missing pieces, or unsafe. Be honest: if a puzzle has six pieces missing, it is not a toy; it is frustration waiting to happen.
This process can be emotional. You might feel guilty about discarding gifts or memories. Remind yourself that a child’s development is better served by fewer, higher-quality experiences than by a museum of unused objects. Once you have reduced the toy collection by at least 30–50%, you are ready for the next step.
—
Categorizing and Grouping Toys
With a leaner collection in hand, it is time to group toys into categories that make sense for rotation. The goal is to create balanced “baskets” or “sets” that offer a variety of play types. Common categories include:
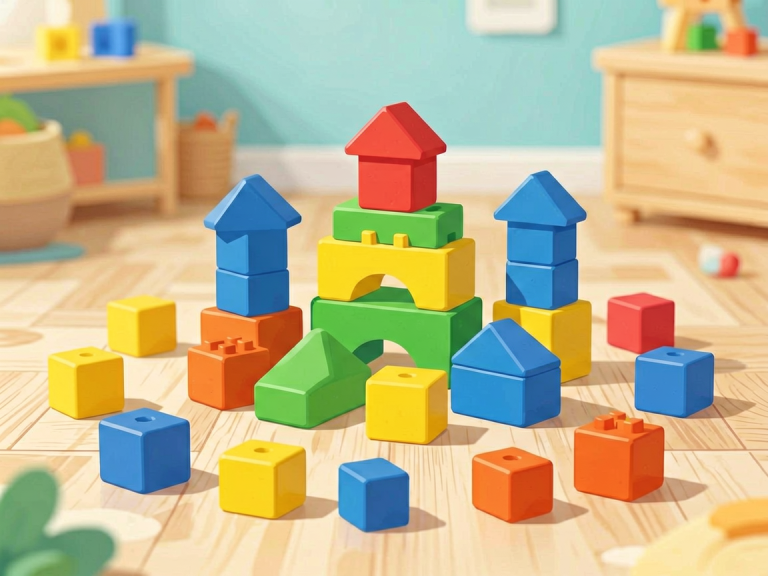
- Building and construction (blocks, LEGO, magnetic tiles)
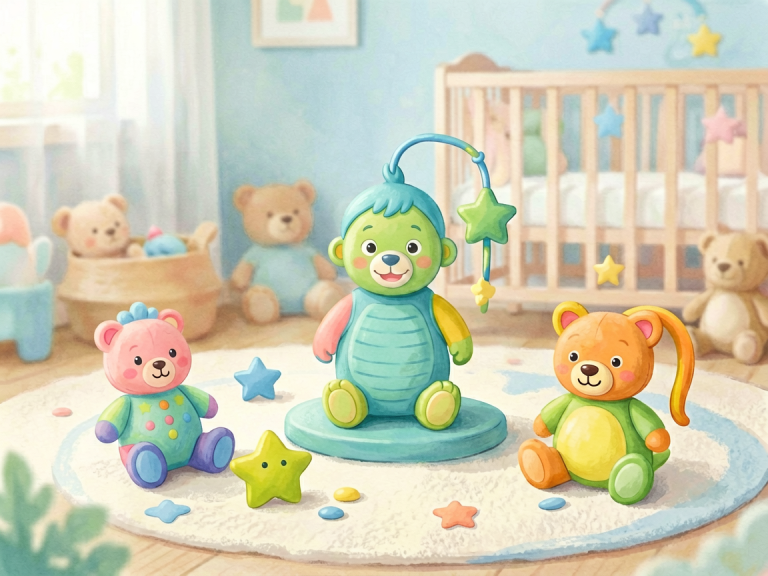
- Imaginative play (dolls, action figures, play kitchens, costumes)
- Art and creativity (crayons, play dough, stickers, blank paper)
- Fine motor and puzzles (puzzles, lacing beads, shape sorters)
- Gross motor (balls, tunnels, ride-on toys—these are often kept out due to size)
- Sensory and science (water tables, sand, magnifying glasses)
Avoid grouping by age or brand; focus on how the toys are used. For example, a two-year-old’s wooden train set might belong in “building” while a three-year-old’s train set with tracks fits better in “imaginative play.” Next, divide your total collection into 4–6 equal groups. A good rule of thumb: the number of toys available at any one time should be small enough that your child can see each item clearly and put everything away in 10 minutes. Aim for roughly 8–12 items per rotation for toddlers, and 12–20 for preschoolers, depending on the size of the toys.
—
Creating Your Rotation System
Now comes the practical structure: how often do you rotate, and how do you store the off-rotation toys? The frequency depends on your child’s age and attention span. For infants and young toddlers (6–18 months), rotate every 3–5 days, as they crave novelty. For older toddlers and preschoolers (18 months–5 years), a weekly or biweekly rotation works well. School-age children may prefer a monthly swap, or even a “request” system where they can ask for a specific bin.
Storage is key. Use clear plastic bins (labeled with photos for non-readers) or opaque bins with colored stickers to indicate categories. Store the rotation bins in a basement, closet, or high shelf—anywhere that is out of sight and out of reach. The current set of toys should be displayed on low, open shelves or in a small toy cabinet. Avoid deep toy boxes where items get lost.
Document your system: create a simple checklist or calendar. Each week, put the current bin away, bring out the next one, and briefly refresh the play space. For example, on Sunday evening, while your child sleeps, swap the “imaginative play” bin for the “building” bin. The surprise in the morning will delight them.
—
Introducing the System to Your Child
Children, especially those over two, may resist change if they see favorite toys disappear. To avoid meltdowns, introduce toy rotation gradually and positively. Explain it in simple terms: “We are going to keep only a few toys out so you can really play with them. The rest will take a nap, and we will wake them up later.” Involve your child in the process: let them choose which toys go into the “nap bin” first. Allow one or two “special” toys (like a beloved stuffed animal or a favorite car) to stay permanently.
On rotation day, make it a mini event. Say, “Guess what? The puzzles are back! Let’s see what Barnaby Bear has brought today.” If your child asks for a toy that is in storage, you have two options: either stick to the system and explain, “That toy is sleeping, but it will wake up next week,” or create a “wish list” board where they can draw or write the name of a toy they want, and you can surprise them by adding it to the next rotation early. The key is consistency: after two or three rotations, most children accept the routine and even look forward to the novelty.
—
Tips for Maintaining and Adapting the System
Toy rotation is not a one-time project; it is a living practice that should evolve with your child. Here are practical tips to keep it running smoothly:
- Observe and adjust. If your child ignores an entire bin for three rotations in a row, move those toys to donation. If they become obsessed with a particular category, increase its frequency.
- Incorporate new toys strategically. When a birthday or holiday brings new toys, don’t just add them to the pile. Trade them for an older toy that goes into storage or donation. This prevents the collection from growing again.
- Involve your child in cleanup. Teach them that toys must be put away before the next rotation. Use a simple timer and make it a game. If they resist, reduce the total number of toys until they can manage cleanup independently.
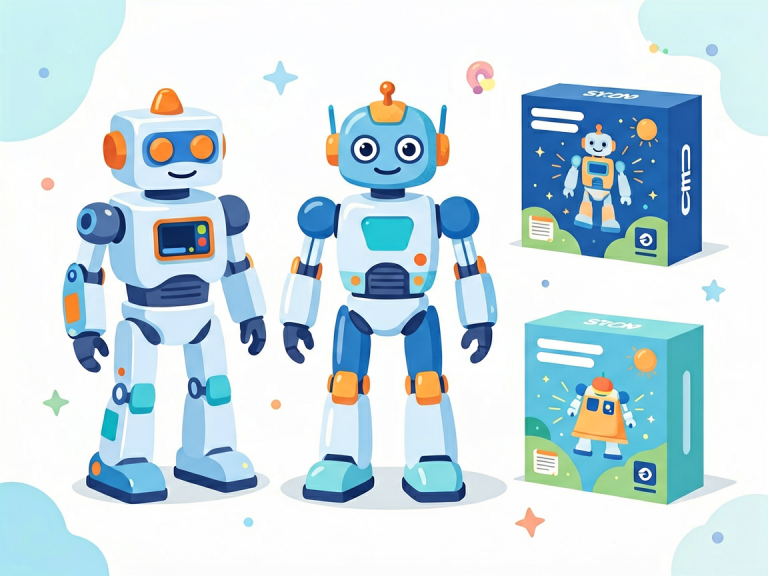
- Don’t forget battery-free toys. Electronic toys often dictate the play and limit creativity. Prioritize open-ended toys like blocks, art supplies, and loose parts (buttons, ribbons, pinecones).
- Use a rotation log. Keep a notebook or a digital note listing what is in each bin and when it was last used. Over time, you will spot patterns—like which types of toys spark the longest play sessions—that help you curate better.
—
Conclusion
Starting a toy rotation requires an upfront investment of time and emotional energy, but the payoff is immense. You will reclaim your living space, reduce decision fatigue for both you and your child, and nurture deeper, more creative play. Remember: the goal is not perfection. Some weeks you may rotate late, or your child may still ask for a hidden toy. That is okay. The magic of rotation lies in its flexibility. As you refine your system, you will discover that less truly is more—fewer toys, more focus; less mess, more joy. Begin with one small step today: declutter one shelf. Tomorrow, sort one bin. In a month, you will wonder why you didn’t start sooner. Happy rotating!