Mastering the Toy Rotation: A Complete Schedule and Checklist Guide
—
Introduction
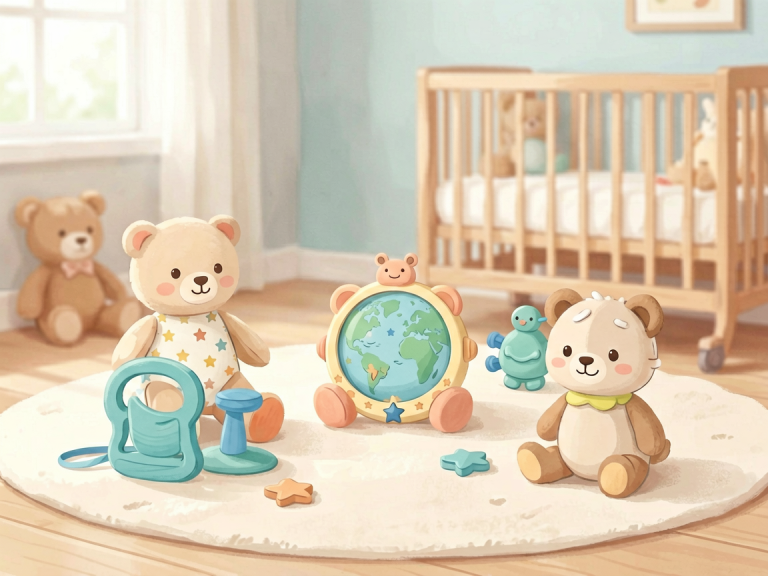
Every parent knows the scene: a playroom floor buried under a mountain of plastic, plush, and puzzle pieces, while your child sits in the middle, bored, ignoring 90% of the options. The solution is not to buy fewer toys—it is to rotate them. Toy rotation is a simple, research-backed strategy that reduces clutter, extends the lifespan of toys, and rekindles your child’s curiosity. But to make rotation truly effective, you need two things: a consistent schedule and a reliable checklist. This article provides both. You will learn why toy rotation works, how to design a schedule tailored to your family’s rhythm, and exactly what steps to follow with a detailed checklist. By the end, you will have a complete system that keeps your home organized and your child engaged.
—
Why Toy Rotation Matters
Before diving into the schedule and checklist, it helps to understand the psychology behind toy rotation. Children are naturally drawn to novelty. When the same toys are always available, they become background noise. The brain stops processing them as interesting objects. Rotating toys brings back that sense of discovery without spending a dime.
Key benefits include:
- Deeper play: With fewer options, children concentrate longer on each toy, building focus and creativity.
- Reduced overwhelm: Too many choices can paralyze a toddler. A curated selection encourages decision-making.
- Easier cleanup: Fewer toys on shelves mean quicker tidy-up times for both you and your child.
- Toy longevity: Toys that are stored away are less likely to be broken or lost, and they feel “new” when they reappear.
- Budget-friendly: You stop feeling the pressure to constantly buy new items because old favorites seem fresh again.
Research from child development experts (such as the work of early childhood educator Magda Gerber) supports the idea that less is more when it comes to play materials. A well-implemented toy rotation schedule respects a child’s natural rhythm and fosters independent play.
—
Designing Your Toy Rotation Schedule
A schedule is the backbone of your system. Without one, rotation becomes a chaotic “someday” task. The ideal frequency depends on your child’s age, attention span, and the number of toys you own. Below are three common schedule models.
1. The Weekly Rotation (Best for Toddlers 1–3 Years)
Younger children thrive on predictability but also need frequent novelty. A weekly rotation keeps the playroom fresh without overwhelming them.
- How it works: Divide toys into 4–6 groups (one for each week). Each Saturday evening, swap the current group with the next one.
- Tip: Keep one “anchor toy” (a favorite lovey or comfort item) always available to provide security.
2. The Biweekly Rotation (Best for Preschoolers 3–5 Years)
Preschoolers have longer attention spans and can enjoy a set of toys for two weeks. This schedule reduces the workload for parents while still offering variety.
- How it works: Create 6–8 bins or baskets. Every second weekend, rotate two bins out and two bins in.
- Tip: Involve your child in the rotation process. Let them help choose which toys “take a vacation.”
3. The Monthly Rotation (Best for Older Children 5+)
Older kids often have more complex toys (construction sets, art supplies, board games) that require deeper exploration. A monthly rotation allows them to dive into projects without interruption.
- How it works: Store a large portion of toys in a closet or garage. Once a month, bring out a new “themed” bin (e.g., building month, art month, science month).
- Tip: Align rotations with seasons or holidays to add extra excitement (e.g., Halloween-themed toys in October).
Choosing your frequency: Start with a weekly rotation for two months. If it feels too demanding, stretch to biweekly. The goal is consistency, not perfection.
—
The Ultimate Toy Rotation Checklist
A checklist ensures you never forget a step. Below is a comprehensive list divided into three phases: *Preparation*, *Execution*, and *Follow-up*. Print it out, laminate it, and keep it with your storage bins.
Phase 1: Preparation (Do this once)
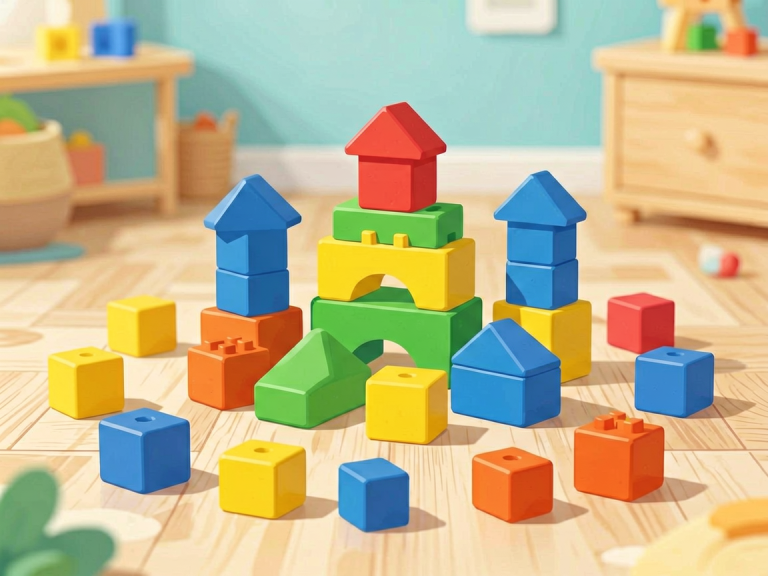
- [ ] Sort all toys into categories: building, imaginative play, art, puzzles, vehicles, sensory, books, etc.
- [ ] Purge broken or incomplete toys. Toss missing pieces or donate items your child has outgrown.
- [ ] Label storage bins by number or theme (e.g., “Bin A – Week 1” or “Sensory Fun Bin”).
- [ ] Create a master inventory list (optional but helpful for large collections).
- [ ] Decide on a bin-to-shelf ratio. For a weekly rotation, you need 4–6 bins; for monthly, 8–12 bins.
Phase 2: Execution (Repeat each rotation day)
- [ ] Remove all toys currently on display.
- [ ] Wipe down shelves, baskets, and toy surfaces with a child-safe cleaner.
- [ ] Inspect the outgoing toys for damage, missing parts, or safety hazards. Repair or discard as needed.
- [ ] Set aside the outgoing toys into their storage bin. Store in a closet, under the bed, or in a garage.
- [ ] Bring in the next bin of rotated toys.
- [ ] Arrange toys thoughtfully on shelves: place a few at eye level, group similar items, leave empty space for breathing room.
- [ ] Introduce one or two “surprise” items from the new bin that you know your child will love (e.g., a puzzle they haven’t seen in months).
- [ ] Leave the rest of the bin stored until the next rotation—you don’t need to display everything at once.
Phase 3: Follow-up (Ongoing)
- [ ] Observe your child’s play over the next few days. Are they engaging with the new toys? If not, adjust the selection next time.
- [ ] Note any toys that seem ignored and consider removing them permanently or donating.
- [ ] Update your inventory list if toys were lost or broken.
- [ ] Set a reminder for the next rotation date on your calendar.
- [ ] Celebrate success! A clean, calm playroom is worth a small reward for you and your child.
—
Implementing the System: Step-by-Step
Starting a toy rotation schedule can feel overwhelming if you have a large collection. Follow these steps to launch smoothly.
Step 1: Conduct a Toy Audit
Gather every single toy in the house. Yes, even the ones under the couch. Sort them into three piles: keep, donate, trash. Be ruthless—if your child hasn’t touched a toy in six months, it’s clutter.
Step 2: Choose Your Storage
Clear plastic bins with lids work best because you can see the contents. You need one bin for each rotation group plus one “overflow” bin for items you want to save for future ages. Label each bin with a number and a rough description (e.g., “Bin 3 – Vehicles & Road Tape”).
Step 3: Divide Toys into Groups
Aim for a balanced mix in each group: two types of play (e.g., one imaginative play item + one building toy) and one book or puzzle. Avoid putting all the noisy toys in one bin—your sanity matters.
Step 4: Set Your Schedule
Pick a day and time that works for your family. Many parents choose Saturday morning or Sunday evening. Put a recurring event on your phone calendar or a paper wall calendar.
Step 5: Involve Your Child
For children over two, make rotation a fun ritual. Let them help carry bins, “say goodbye” to toys going into storage (a simple wave works), and arrange the new toys. This gives them a sense of control and reduces resistance.
Step 6: Start Small
Don’t try to rotate all bins at once. Begin with two groups. Once you’ve mastered the rhythm, increase to four or more.
—
Tips for Long-Term Success
- Rotate books and puzzles too. These are often forgotten. Keep a basket of rotating books near the play mat.
- Use clear zippered bags for small toy parts (e.g., blocks, Lego) inside the bins to prevent mixing.
- Create a “quiet bin” for travel or sick days, containing calm toys like coloring books or stuffed animals.
- Don’t over-rotate. Once a week is enough for most families. Changing toys too frequently can unsettle sensitive children.
- Watch for signs of boredom. If your child stops playing with the current set after three days, consider swapping some items mid-cycle.
- Store seasonal toys separately. Outdoor summer toys (buckets, water tables) should not compete with indoor winter toys.
- Be flexible. If your child bonds deeply with a particular toy, let it stay out for an extra week. The schedule serves you, not the other way around.
—
Conclusion
A toy rotation schedule and checklist transform chaos into calm. You no longer dread stepping into the playroom. Your child discovers the joy of focused, creative play with fewer distractions. And you reclaim your living space without feeling like a drill sergeant. The key is consistency: commit to a schedule that fits your life, use the checklist to stay on track, and adjust as your child grows. Within a few weeks, you will wonder how you ever managed without it. So start today. Grab a bin, a marker, and a calendar—your clutter-free, happy playroom awaits.
—
*(Word count: approximately 1,250 words)*