How to Make a Birthday Toy Plan: A Step-by-Step Guide to Crafting the Perfect Gift
Introduction
A birthday is a special milestone, and few gifts carry more emotional weight than a toy created with thought, effort, and love. Whether you are a parent, a grandparent, an older sibling, or a close friend, designing a personalized toy plan can transform a simple present into a cherished memory. But how do you turn a vague idea into a concrete, actionable plan? The answer lies in a systematic approach that balances creativity, practicality, and the recipient’s unique personality. This article provides a comprehensive guide on how to make a birthday toy plan—from initial inspiration to final presentation. By following these steps, you will not only deliver a memorable gift but also enjoy the rewarding process of making something truly one-of-a-kind.
Step 1: Understanding the Birthday Child (or Adult)
Before you sketch a single design or buy a single supply, you must deeply understand the person who will receive the toy. A birthday toy plan begins with empathy and observation.
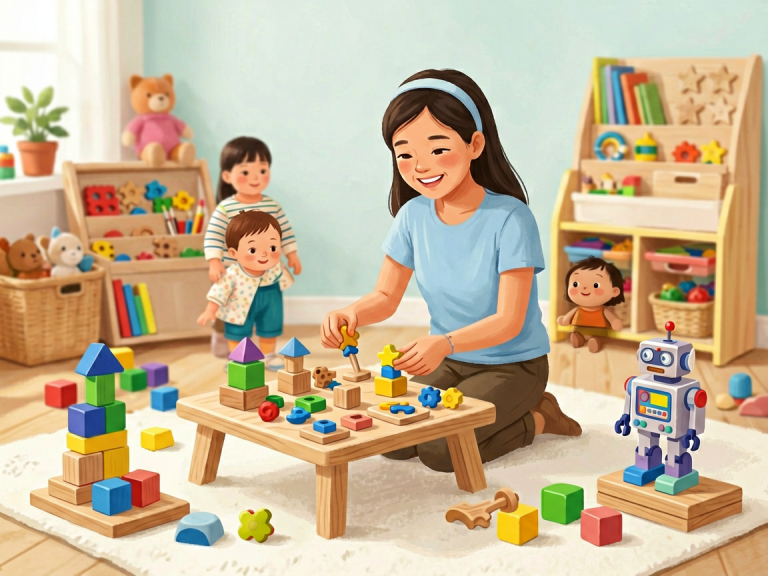
Start by noting the recipient’s age, interests, and developmental stage. For a toddler, sensory stimulation and motor skills are paramount; for a school-age child, imaginative play or problem-solving may matter more. For an adult, nostalgia or collectible value could be the key. Ask yourself: What does this person love most? Dinosaurs, space exploration, dolls, cars, puzzles, or art? Watch how they play with existing toys. Do they prefer solitary, focused activities or group games? Are they drawn to building things, or do they love storytelling?
Additionally, consider any physical or cognitive needs. A toy for a child with fine-motor challenges should be easy to grasp; a toy for a visually impaired child might incorporate tactile or auditory elements. Safety is also critical—avoid small parts for young children or toxic materials for anyone.
Jot down your observations in a simple notebook or digital document. This “user profile” will guide every subsequent decision, ensuring your plan stays personal and relevant.
Step 2: Setting a Budget and Timeline
A toy plan without constraints can quickly become overwhelming. Define your budget early. Be realistic: homemade toys can be cheaper or more expensive than store-bought ones, depending on materials and tools. Include costs for raw materials, special tools (like a glue gun or sewing machine), and any finishing touches like paint or packaging. Leave a 10–15% buffer for unexpected expenses.
Next, set a timeline. If the birthday is two weeks away, choose a project that can be completed in evenings and weekends. If you have months, you can tackle more complex builds like a wooden dollhouse or a remote-controlled car. Break the timeline into phases: research (2 days), material gathering (3 days), prototyping (4 days), construction (5 days), and finishing (2 days). Mark milestones on a calendar to stay on track. Remember to include drying time for glue/paint and testing time for moving parts.
Step 3: Brainstorming Toy Ideas
Now, let your creativity loose. Based on the user profile, generate a list of possible toy concepts. Write down everything that comes to mind—even seemingly silly ideas—because they can spark better ones later.
To structure your brainstorming, consider these categories:
- Classic toys with a twist: A wooden rocking horse painted like a favorite storybook character; a set of building blocks engraved with the child’s name.
- Interactive/educational toys: A custom board game about the child’s favorite hobby; a homemade marble run using recycled tubes.
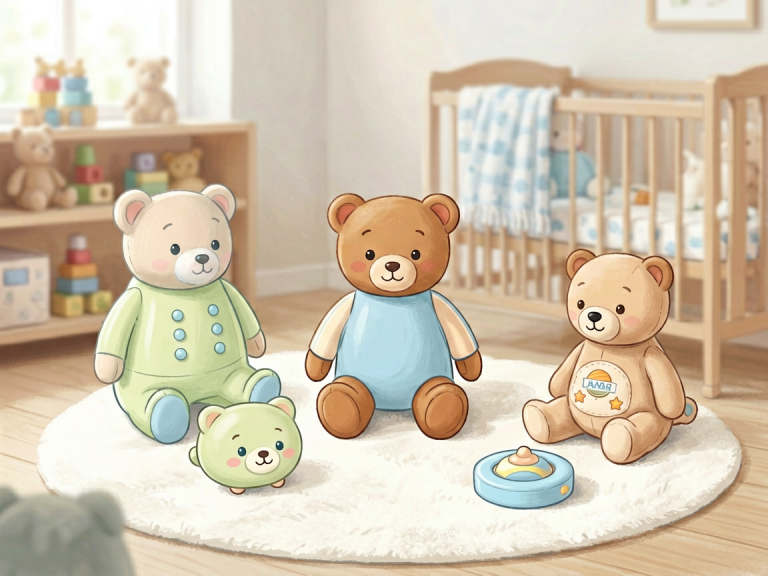
- Soft toys: A plush dinosaur with removable fabric “bones”; a weighted blanket animal for comfort.
- Outdoor/active toys: A personalized kite, a painted hopscotch mat, or a simple birdhouse kit.
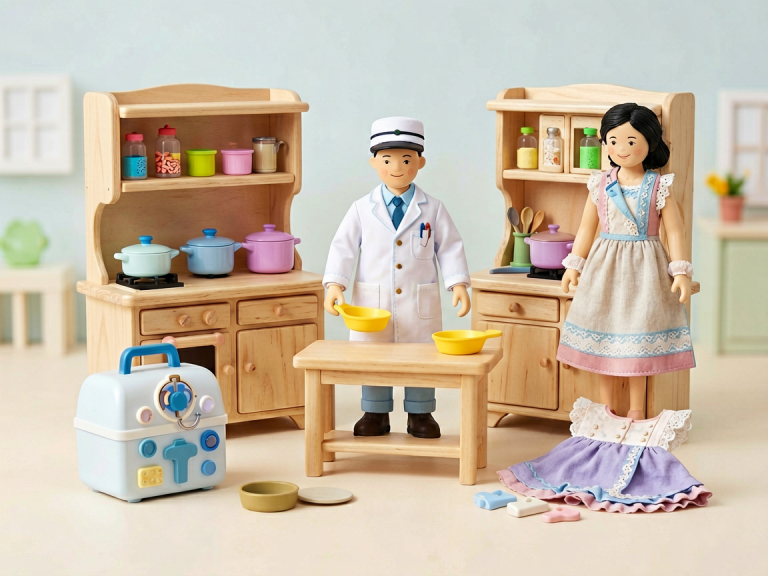
- Collectible/display toys: A miniature diorama of the child’s room; a hand-carved figurine of their pet.
Research existing DIY toy tutorials online for inspiration, but always adapt them to your recipient’s preferences. For example, if the child loves sharks, turn a simple sensory bottle into an ocean-themed discovery jar with glitter, small shark figurines, and blue gel.
Step 4: Choosing DIY vs. Store-Bought
A birthday toy plan does not have to be 100% handmade. Sometimes the best plan combines a purchased base with personal customization. Ask yourself honestly: Do I have the skills, tools, and time to build this from scratch? If not, consider a hybrid approach.
For instance, buy a plain wooden train set and hand-paint it with the child’s favorite animal patterns. Or purchase a standard doll and sew a complete wardrobe based on the child’s drawings. Another option is to assemble a “toy kit”: gather a collection of small items (e.g., craft supplies, stickers, a blank notebook) and package them in a decorated box with instructions for creative play.
If you decide to go fully DIY, choose materials you are comfortable working with. Woodworking requires safety goggles and precision; sewing demands patience and a steady hand; paper crafts are more forgiving. The key is to match the difficulty level to your experience while ensuring a high-quality final product.
Step 5: Gathering Materials and Tools
Once your concept is clear, make a detailed list of everything you need. Do not assume you have all the supplies at home—check your stash thoroughly.
For a fabric toy, you’ll need: fabric (cotton, felt, fleece), stuffing, thread, needles/pins, scissors, and perhaps a sewing machine. For a wooden toy: sandpaper, non-toxic paint, wood glue, saw (if cutting), and clamps. For a paper-and-cardboard creation: sturdy cardboard, hot glue, acrylic paint, tape, and a craft knife (with cutting mat).
Source materials from local craft stores, online retailers, or even recycled household items. Cardboard boxes, bottle caps, old socks, and scrap yarn can all become toy components. Always prioritize safety—use non-toxic paints, lead-free zippers, and splinter-free wood.
Step 6: Designing and Prototyping
Before committing to the final build, create a prototype or a detailed sketch. For a 3D toy, draw orthogonal views (top, front, side) or build a quick mock-up from cheap materials like clay or cardboard. This step helps you identify flaws in shape, size, or balance.
For example, if you plan a wooden car, test the wheel alignment with a paper cutout. If you are sewing a plush animal, make a muslin version to check the pattern’s fit. Adjust the design based on your findings. Prototyping also lets you experiment with colors and textures without wasting expensive materials.
Document the process with notes and photos—this will help if you ever want to recreate the toy or share the plan with others.
Step 7: Execution and Safety Checks
Now comes the hands-on work. Follow your timeline but allow flexibility—crafting often takes longer than expected. Work in a clean, well-lit area, and keep tools organized. If children are present, secure sharp objects and supervise them if they help.
During construction, pay constant attention to safety: – Sand all wooden edges smooth to prevent splinters. – Securely attach buttons or small parts by knotting thread multiple times. – Ensure any batteries or electronics are in a compartment that cannot be opened by small hands. – Use flame-retardant materials for toys that might be near heat.
After assembling the toy, test it thoroughly. Does the wheel spin? Does the doll stand upright? Are there any loose pieces that could become choking hazards? Invite a neutral adult to examine the toy for potential issues.
Step 8: Presentation and Surprise
How you give the toy is almost as important as the toy itself. Wrap it creatively: place the toy inside a handmade treasure chest, or create a scavenger hunt that leads to the gift. Attach a handwritten note explaining the inspiration behind the design—this adds a deeply personal touch.
If the toy requires assembly or care instructions (e.g., “hand wash only” or “batteries not included”), write them on a small card. For younger children, practice together: show them how the toy works and invite them to play immediately.
Conclusion
Making a birthday toy plan is more than a logistical exercise—it is an act of love that celebrates a person’s uniqueness. By following these steps—understanding the recipient, setting realistic constraints, brainstorming creatively, choosing the right approach, gathering materials, prototyping, constructing safely, and presenting with flair—you ensure the final gift is both meaningful and functional. The best part? The memory of your effort will outlast any factory-made product. So pick up your tools, embrace the process, and create a toy that tells a story. Happy planning, and happy birthday to the lucky recipient