A Step-by-Step Guide to Starting Toy Rotation Shelves: Simplify Play, Boost Engagement
If your living room floor looks like a toy store after a hurricane, and your child still whines “I’m bored” despite owning a mountain of plastic treasures, you are not alone. The solution many modern parents are turning to is toy rotation—a system that limits the number of toys available at any one time and periodically swaps them out. The centerpiece of this approach is the toy rotation shelf: a dedicated, accessible display that makes choosing a toy feel intentional and exciting. Starting such a system may seem daunting, but with a clear plan, you can transform playtime from chaotic to calm. This guide will walk you through every step, from decluttering to maintaining the rotation, so you can finally reclaim your space and rekindle your child’s curiosity.
—
1. Understand the Benefits of Toy Rotation Before You Begin
Before you buy any shelves or sort through bins, take a moment to internalize *why* toy rotation works. This mindset will keep you motivated when the initial purge feels overwhelming. Research in child development suggests that an overload of choices can lead to decision fatigue and superficial play. When a child faces 50 toys, they often flit from one to another without deep engagement. Limiting options (typically to 8–12 items on a shelf) encourages focus, creativity, and longer attention spans.
Moreover, rotation keeps toys “novel.” After a few weeks away from a set of blocks or a puzzle, your child will rediscover it with fresh eyes—often as if it were brand new. This reduces the urge to buy more toys and saves money. Lastly, a rotation system teaches children to care for their belongings: they learn to tidy up because they know the toys will return later, and they value what is currently available. Understanding these benefits will help you commit to the process, even when your child initially protests losing access to a favorite stuffed dinosaur.
—
2. Declutter and Categorize Your Toy Collection
The first concrete step is to gather every toy in your home—including those stashed under beds, in closets, and in the car—and sort them into categories. This is not a quick job; set aside a weekend afternoon. Lay everything out on a large floor space or a clean table. As you sort, create three piles: keep, donate/sell, and trash/recycle.
- Trash/recycle: Broken toys with missing parts, puzzles with chewed pieces, and dried-out markers go here. Be ruthless.
- Donate/sell: Gently used toys that your child has outgrown or never loved. If a toy hasn’t been touched in six months, it’s a candidate for donation.
- Keep: The toys you want to rotate. Now subdivide this pile into categories such as: building/construction, pretend play, art/music, puzzles/games, sensory (play dough, kinetic sand), vehicles, animals, and books. You can also group by skill (fine motor, gross motor, cognitive).
Aim to reduce your “keep” pile by at least one-third. Remember, the goal is *less*, not more. A common mistake is keeping too many toys and trying to rotate them all, which defeats the purpose of reducing clutter. You will only need about 30–40 high-quality toys to sustain a healthy rotation for a toddler or preschooler. For older children, you may keep more but still rotate smaller themed sets.
—
3. Choose the Right Shelving System
Now that you know what you’re keeping, it’s time to select storage. The “rotation shelf” should be low, open, and accessible. Avoid deep bins or toy chests where items get buried. Look for shelves that allow you to display toys face-forward (like a retail display) so your child can see their options at a glance. Here are a few popular options:
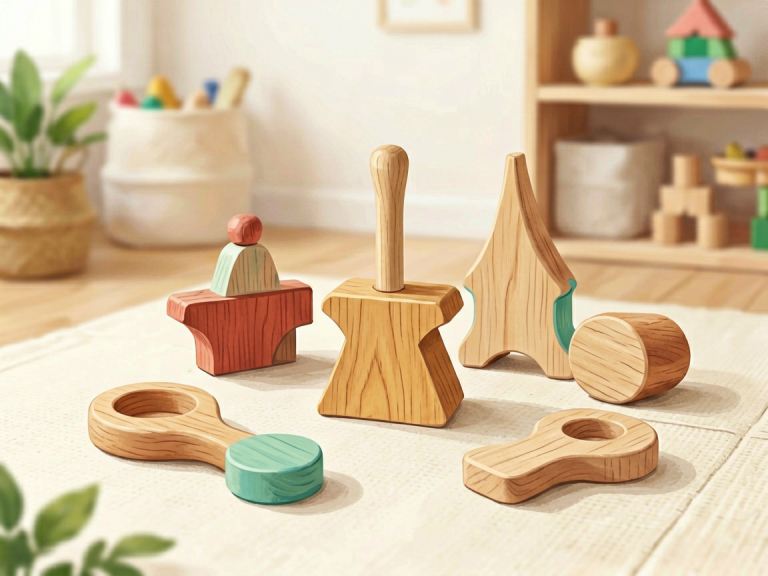
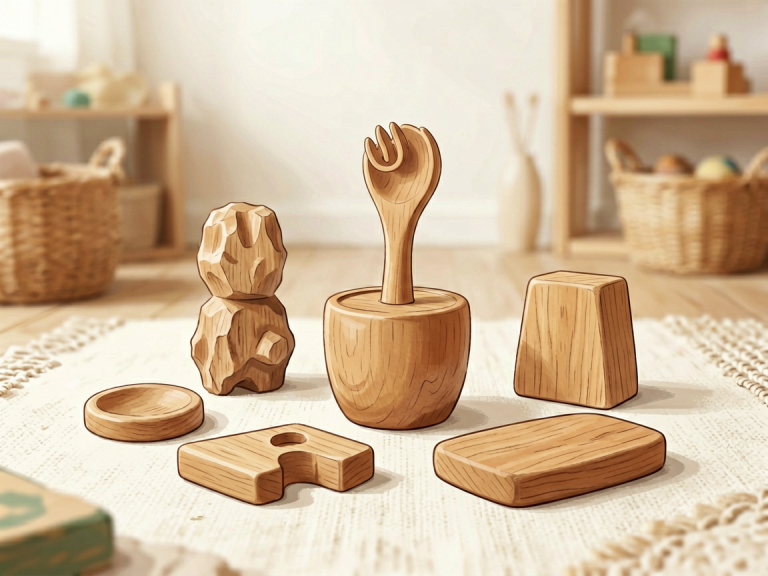
- Montessori-style wooden shelves (e.g., the “Montessori shelf” with 2–3 tiers): These are low to the ground (kid-height, about 24–30 inches high) and have an open front. They encourage independence.
- Cube organizers (e.g., IKEA Kallax): Use fabric bins or open cubbies. You can store one type of toy per bin and pull out a bin for rotation. However, avoid deep bins that hide toys; use shallow ones or remove the bin entirely.
- Wall-mounted floating shelves: Great for small spaces. Install them at your child’s height, but ensure they are securely anchored.
- Tiered plastic shoe racks or spice racks: Surprisingly effective for displaying small toys like action figures or matchbox cars.
Consider the size of your space and the number of toys you plan to display. A good rule is to allocate 8–12 items on the shelf at a time. If you have a large collection, invest in a shelving unit with multiple compartments or use a combination of a main shelf and a storage closet for items not currently in rotation.
—
4. Create a Rotation Schedule and a “Backup” Storage System
You cannot rotate without a place to store the toys that are “off duty.” Designate a closet, under-bed bin, or a cabinet as your rotation storage. Use clear, labeled bins or zip-top bags (for puzzles with small pieces) so you can find items quickly. Organize the bins by category or by the rotation week.
Now, plan your schedule. The frequency depends on your child’s age and interest span:
- Toddlers (12–24 months): Rotate every 4–7 days. They tire quickly and benefit from novelty.
- Preschoolers (3–5 years): Rotate every 1–2 weeks. They can engage longer but still appreciate change.
- School-age (6+ years): Rotate every 2–4 weeks, or simply change out a few toys at a time.
Mark your calendar with rotation dates. Some parents use a simple “A/B/C” system: divide toys into sets (Set A, Set B, Set C) and rotate through them cyclically. For example, week 1: Set A on shelf; week 2: Set B; week 3: Set C; week 4: Set A again. This ensures variety while keeping the total number of toys manageable. Over time, you can merge sets or add new toys from holidays and birthdays.
—
5. Organize and Display Toys by Theme or Skill
When you place toys on the shelf, don’t just dump them. Organize intentionally. A well-curated shelf entices a child to explore. Here’s how to arrange the 8–12 items:
- Lowest shelf (easiest to reach): Large or heavy items, like a wooden train set or a bin of blocks.
- Middle shelf: Items that require tabletop work, like puzzles, threading beads, or a small dollhouse.
- Top shelf (still within reach for most preschoolers): Smaller toys or items that need supervision, like art supplies (crayons, paper) or sensory bottles.
Group toys that complement each other. For example, place a set of animal figures next to a small barn, or a set of magnetic tiles near a flat tray. This encourages open-ended play and narratives. Avoid overcrowding; leave empty space on each shelf so toys can breathe. A minimalist look actually invites play more than a cluttered one.
Also, consider rotating by theme to align with your child’s interests or season. In winter, you might display a wooden snowman set, winter-themed books, and polar animal figures. In summer, swap to beach shells, water play cups, and insect exploration kits. Theming adds a layer of excitement and context.
—
6. Involve Your Child in the Process
Toy rotation should not be a secret parent operation. Involve your child to build ownership and reduce resistance. When you prepare a new rotation set, invite your child to help choose which toys to put out. Ask, “Which of these would you like to play with this week?” Even a toddler can point. This simple act makes the child feel in control.
During the rotation itself, make it a calm ritual. Sing a song while you swap toys. Explain that the toys are going to “take a nap” and will come back later. For children over three, you can even let them help with the physical swapping: they can carry a bin of old toys to the storage closet and pick a new bin to bring out.
Be prepared for some initial pushback. A child might miss a toy they didn’t play with for months but suddenly want when it disappears. Validate the feeling: “I know you miss the red car. It’s having a rest now, but it will come back in a few weeks.” Then redirect to the current shelf. Consistency is key. After two or three rotations, most children accept the system and even look forward to “new” toys arriving.
—
7. Maintain and Adjust the System Over Time
Starting a toy rotation shelf is a beginning, not an end. After a few months, you will notice patterns: some toys are always chosen, others never. Adjust accordingly. Permanently remove toys that are consistently ignored (donate them) and rotate in toys that were previously favorites but have been resting.
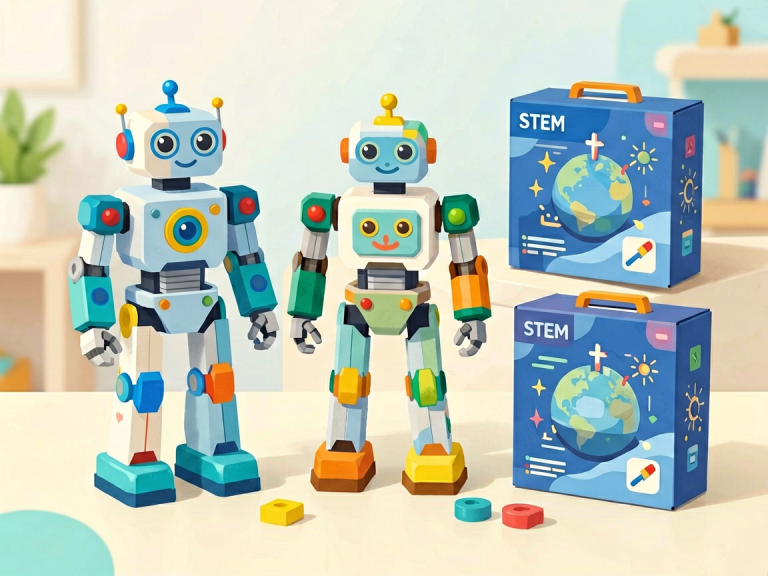
Also, adapt the system as your child grows. A one-year-old needs very different toys than a five-year-old. Over time, you may reduce the number of sensory bins and increase the number of open-ended construction sets and board games. Rotate out baby toys and introduce more complex puzzles, craft supplies, or early STEM kits.
Another maintenance tip: keep a simple log. Jot down which sets you used each week and how your child responded. This helps you remember what worked and what didn’t. It also prevents you from accidentally rotating the same toys too soon.
Finally, resist the urge to buy new toys just for the sake of rotation. The beauty of this system is that you already own enough. When you do receive gifts (birthdays, holidays), incorporate them into the rotation immediately and retire an equal number of old toys. This keeps the collection fresh without expansion.
—
Conclusion: Embrace the Joy of Less
Starting toy rotation shelves is not about depriving your child of playthings; it’s about curating an environment that fosters deep, imaginative play. The initial effort—sorting, organizing, choosing shelves, and setting a schedule—pays off in quieter mornings, tidier rooms, and a child who actually plays with what’s in front of them. Remember that no system is perfect from day one. Give yourself and your child grace to find what works. Within a few weeks, you will likely wonder why you didn’t start sooner. The shelves will become a beloved fixture in your home, a symbol of intentional living and playful discovery. Now go ahead: gather those toys, pick a shelf, and take the first step toward a more peaceful, engaging play space. Your child—and your sanity—will thank you.