The Ultimate Toy Rotation Guide: Simplify Playtime and Boost Your Child’s Creativity
What Is Toy Rotation and Why Does It Matter?
Toy rotation is a simple yet transformative approach to managing children’s playthings. Instead of keeping every single toy accessible at all times, you divide them into smaller groups and cycle them in and out of your child’s play area on a regular schedule. The toys that are not currently in use are stored away, only to reappear after a few weeks or months. This method is far more than a clever organization hack—it is a philosophy rooted in developmental psychology and minimalism.
The core idea is that less is more. When a child faces an overwhelming number of choices, they often struggle to engage deeply with any single toy. They may flit from one item to another, scattering pieces across the floor and feeling unsatisfied. By limiting the available options, you create an environment that encourages focused, imaginative, and sustained play. Moreover, toy rotation respects the natural ebb and flow of a child’s interests. A toy that has been out of sight for a while is rediscovered with fresh excitement, often becoming a “new” favorite again. This cycle not only saves you money—because you don’t need to constantly buy new toys—but also reduces clutter and fosters a sense of order in your home.
The Proven Benefits of Toy Rotation
Adopting a toy rotation system brings multiple advantages for both children and parents. First, it dramatically reduces the physical and mental clutter that can hinder a child’s ability to engage. Research in early childhood education suggests that an environment with fewer distractions promotes longer attention spans and more creative problem-solving. When a child has only five or six toys to choose from, they are more likely to invent stories, build complex structures, or engage in pretend play with those items rather than simply dumping them out.
Second, toy rotation helps combat the phenomenon of “toy fatigue.” Many parents have watched their children ignore a bin full of expensive toys and instead play with a cardboard box. This happens because novelty is a powerful driver of curiosity. By regularly swapping out toy sets, you reintroduce that novelty without spending a penny. Each rotation feels like a mini-Christmas morning, and children learn to appreciate and care for their belongings between cycles.
Third, rotation teaches valuable life skills. As children grow older, they can participate in the process—choosing which toys to keep out, helping to pack away others, and even predicting when their favorite train set might return. This instills a sense of responsibility, decision-making, and delayed gratification. For parents, the system simplifies cleanup. With fewer toys in circulation, tidying up takes minutes instead of hours, and the playroom remains a peaceful space rather than a battlefield of scattered LEGOs and puzzle pieces.
How to Start Toy Rotation: A Step-by-Step Plan
Implementing toy rotation does not require expensive bins or a dedicated closet—just a bit of planning and consistency. Follow these steps to create a system that works for your family.
Step 1: Gather and Sort All Toys
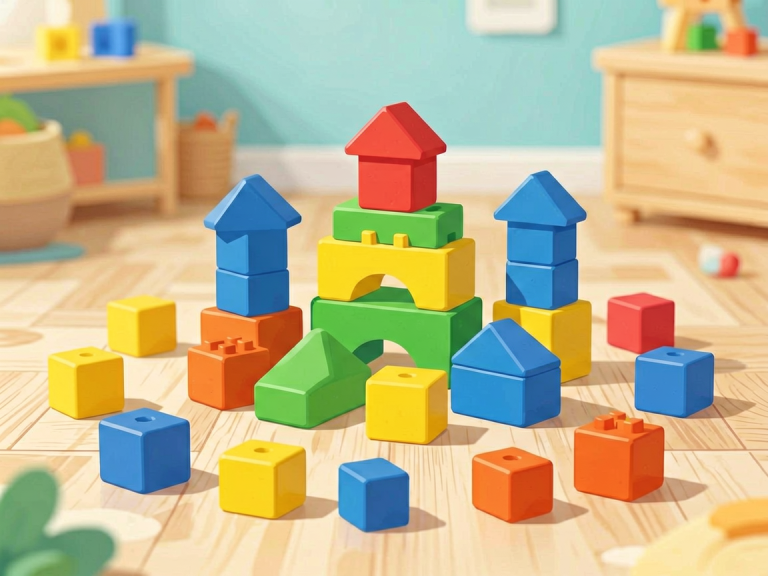
The first (and most time-consuming) step is to collect every toy your child owns from every corner of the house. Sort them into broad categories: building blocks, puzzles, pretend play (kitchen sets, dress-up clothes), art supplies, vehicles, dolls, and learning toys (memory cards, shape sorters). As you sort, be honest about what your child actually uses. Set aside broken toys, items with missing pieces, and toys your child has outgrown. Donate or discard these immediately—they should never enter the rotation.
Step 2: Create Toy “Baskets” or Groups
Now divide the remaining toys into several groups, each intended to be a complete play set for a specific rotation period. For example, Group A might contain a set of wooden blocks, a farm animal collection, a puzzle, and a pretend doctor kit. Group B might have magnetic tiles, a set of trains, a memory game, and playdough with tools. Each group should offer a balanced mix of types: some open-ended toys (blocks, dolls) and some with more defined goals (puzzles, matching games). The number of groups depends on your storage space and how often you plan to rotate. Many parents find that four to six groups work well, cycling every one to two weeks.
Step 3: Prepare Your Storage and Display
Designate a shelf, bin, or cabinet for the “active” toys currently in use. This area should be tidy and accessible to your child. The remaining groups go into sealed containers or opaque bins, stored in a closet, under a bed, or in the garage. Label each bin clearly (e.g., “Rotation Set 1 – Vehicles & Puzzles”) so you know what’s inside without opening it. Avoid using clear plastic bins if you want the element of surprise to remain—out of sight, out of mind works best for maintaining novelty.
Step 4: Establish a Rotation Schedule
Decide on a rhythm that suits your child’s age and attention span. For toddlers, a weekly rotation often works because their interests change quickly. For preschoolers, a two-week cycle may be better. You can also choose to rotate based on your child’s cues—if you notice they are losing enthusiasm for the current set, swap it out even if the schedule says otherwise. Consistency is key, but flexibility is equally important. Mark the rotation day on your calendar (e.g., every Sunday evening) to build the habit.
Step 5: Introduce the System to Your Child
If your child is old enough to understand, explain the concept in a positive light. Say something like, “We’re going to have a secret toy closet, and every week some special toys will come out to play while others take a nap. When they wake up, they’ll be so excited to see you!” Let younger children watch you pack away the toys—they may cry the first time, but gentle reassurance and a distraction with the new group will ease the transition. Within a few cycles, most children accept rotating as normal.
Tips for Making Toy Rotation a Lasting Success
Starting a rotation is easy; maintaining it requires mindfulness. First, always observe how your child interacts with each group. If a puzzle never gets touched, remove it from the current set and replace it with something more engaging. The rotation should evolve with your child’s developmental stages. Second, resist the urge to buy new toys just because you see them on sale. Rotating helps you realize that your child already has enough—and what they truly need is variety, not quantity. Third, involve your child in the process of selecting which toys go into the next rotation. This gives them a sense of ownership and reduces resistance.
Another helpful tip is to use a “toy library” approach. Some parents keep a small number of “ever-present” items—such as favorite stuffed animals, a set of building bricks, or a beloved book—outside the rotation. These comfort toys provide stability while everything else changes. Finally, don’t be afraid to modify your system. If a two-week cycle feels too fast, stretch it to three weeks. If your child is suddenly obsessed with dinosaurs, create an entire rotation around that theme. The goal is not rigid adherence to a system, but a more peaceful, engaging play environment.
Common Mistakes to Avoid
Even seasoned parents can stumble when implementing toy rotation. One frequent error is rotating too often. If you swap toys every three days, your child never has time to build a deep connection with any set. Aim for at least one week per rotation, and longer for older children. Another mistake is rotating all toys at once—including items that were only just introduced. Keep a small “toddler-resistant” set for moments when you need to occupy your child quickly (like during diaper changes or phone calls). Also, avoid creating groups that are too large. A rotation set should contain no more than seven or eight items; otherwise, you defeat the purpose of reducing overwhelm.
Parents sometimes struggle with the storage part. If you hide toys too well, you may forget what you have, leading to duplicates or poor rotations. Keeping a simple inventory list on your phone can help. Also, do not force rotation on a child who is going through a major life change (starting school, a new sibling). In times of stress, children crave familiarity, so you might keep the same toys out longer. Finally, avoid judging your child’s play style. If they prefer to play with one toy from the rotation and ignore the rest, that’s fine—the purpose is depth, not variety. Trust the process.
Conclusion: A Cleaner Home, a Happier Child, a Calmer You
Toy rotation is not a passing trend; it is a time-tested strategy that aligns with how children naturally learn and grow. By curating your child’s play environment, you give them the gift of focused attention, creative exploration, and genuine appreciation for their belongings. You also reclaim your living space from the tyranny of plastic clutter. Whether you have a dedicated playroom or a small corner in the living room, a well-executed toy rotation will transform the daily chaos into a rhythm of discovery and peace.
Start small. Sort just the toys in one room. Create two rotation groups and commit to a two-week trial. Observe how your child responds, and adjust from there. Soon, you’ll wonder why you didn’t try this sooner. The ultimate reward is not just a tidy home—it’s watching your child light up with joy as a forgotten fire truck reappears, ready for a new adventure. That moment makes every bin and label worth the effort.