How to Make a Toy Plan: A Comprehensive Guide from Concept to Creation
Introduction
Toys have been an integral part of human culture for millennia, serving not only as sources of entertainment but also as tools for learning, creativity, and emotional development. Whether you are a parent looking to craft a unique gift for your child, an educator seeking to design educational playthings, or an aspiring inventor hoping to launch a commercial product, having a solid toy plan is essential. A toy plan is more than just a rough sketch; it is a structured roadmap that guides you through every stage of the design and production process, ensuring that the final toy is safe, functional, engaging, and feasible to make. Without a proper plan, you risk wasting materials, time, and effort on a product that may not work as intended or fail to capture a child’s imagination. In this article, I will walk you through a step-by-step methodology for creating a toy plan that is both creative and practical. From defining your core vision to testing prototypes, each section will provide actionable advice and real-world considerations. By the end, you will have a comprehensive framework that you can apply to any toy project, whether it is a simple wooden block set or an elaborate electronic robotic companion.
Step 1: Define Your Vision and Purpose
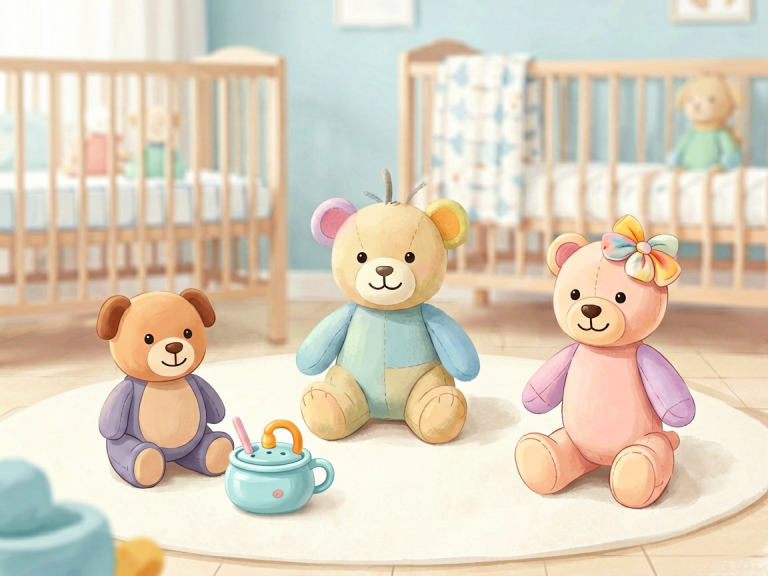
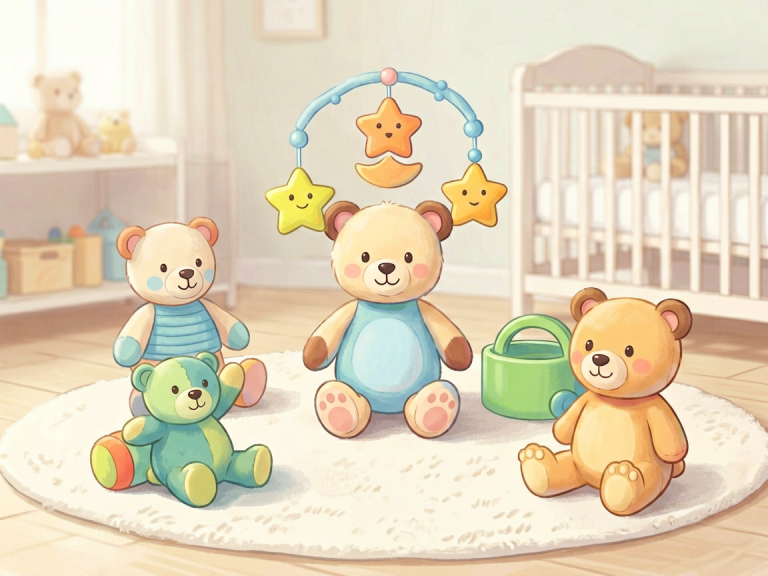
Every great toy begins with a clear idea. Before you dive into sketches or material lists, take time to answer fundamental questions that will shape your entire plan. First, determine the primary purpose of your toy. Is it meant to entertain, educate, develop motor skills, encourage social play, or a combination of these? For example, a simple stacking ring toy primarily develops fine motor skills and hand-eye coordination, while a board game fosters strategic thinking and social interaction. Second, identify your target age group. Toys for infants must be free of small parts and made from non-toxic, chewable materials, whereas toys for older children can include more complex mechanics and smaller components. Third, consider the intended play environment: indoor, outdoor, solo, or group? A toy meant for outdoor use must be durable and weather-resistant, while a solo toy should engage a child’s attention without requiring a playmate. Finally, think about the emotional or educational value. Will the toy spark curiosity? Teach a specific concept? Provide comfort? Writing down a one-paragraph mission statement for your toy can help anchor every subsequent decision. For instance: “This toy is a wooden train set for children ages 3–6 that encourages cooperative play and teaches basic cause-and-effect relationships through magnetic coupling and track layout.” Once your vision is clear, you can move forward with confidence.
Step 2: Research and Gather Inspiration
A successful toy plan is built on a foundation of research. Start by studying existing toys in the same category. Visit toy stores, browse online marketplaces like Amazon or Etsy, and read reviews to understand what works and what doesn’t. Pay attention to common design flaws—breakable parts, boring repetitive actions, overly complex instructions—and think about how you can improve upon them. Also, explore adjacent fields: educational psychology, child development milestones, and even art and architecture. For example, the Montessori method emphasizes simple, natural materials that allow children to discover concepts on their own, which can inspire a minimalist design approach. Meanwhile, the principles of universal design can help you create toys that are accessible to children with disabilities. Additionally, look for inspiration from nature, everyday objects, or cultural traditions. A toy boat might be inspired by origami, a puzzle by fractal patterns, or a dollhouse by vernacular architecture. Keep a research journal or digital folder where you collect images, notes, and links. This phase is not about copying—it’s about synthesizing ideas to create something original. Also, consider practical constraints such as budget, available tools, and your own skill level. Are you planning to make a single prototype by hand, or do you aim for mass production? This will greatly influence your material choices and design complexity.
Step 3: Ideation and Concept Sketches
With a solid research base, it’s time to generate multiple concepts. Do not settle on the first idea that comes to mind. Instead, use brainstorming techniques like mind mapping, word association, or the “SCAMPER” method (Substitute, Combine, Adapt, Modify, Put to another use, Eliminate, Reverse). For each concept, produce rough sketches—they need not be artistic masterpieces, just enough to convey the shape, size, and main features. For example, if you’re designing a pull-along toy animal, sketch different body shapes (cartoonish vs. realistic), wheel types (wooden disks vs. rubber tires), and connection methods (string vs. rigid handle). Label key dimensions, such as overall length, width, and height, as well as critical clearance for moving parts. During this phase, think about the user experience: How does a child hold it? What sounds does it make? How does it encourage play? Also, consider safety: avoid sharp corners, pinch points, and small detachable parts that could be choking hazards. A good practice is to create at least three distinct concepts and then evaluate them against your original vision and target audience. You can rank them using a simple scoring matrix based on feasibility, cost, safety, play value, and uniqueness. The highest-scoring concept will be your primary candidate for further development.
Step 4: Detailed Design and Technical Specifications
Once you have chosen a lead concept, transform your rough sketches into detailed technical drawings. These can be hand-drawn with precise measurements or created using CAD software such as TinkerCAD, Fusion 360, or even a simple 2D vector tool. The level of detail depends on your manufacturing method: if you plan to 3D print, you will need a 3D model; if you plan to cut wood with a laser cutter, you need vector files with exact dimensions. Include an exploded view that shows how each component fits together—this is crucial for assembly instructions and troubleshooting. Specify materials for each part. For instance, the body might be made from birch plywood for durability, the wheels from natural rubber for grip, and the axles from stainless steel to prevent rust. Also, define surface finishes: non-toxic water-based paint, clear varnish, or left raw with oil. Document any mechanical elements: springs, gears, magnets, or electronics. If your toy includes lights or sounds, you will need a circuit diagram and a list of components (battery, LED, switch, microcontroller). In addition, consider tolerances—how much space should be between a peg and a hole to ensure smooth movement without wobbling? Overly tight tolerances cause binding; loose tolerances lead to rattling. For safety, ensure that all edges are rounded (minimum 1 mm radius for wood, 0.5 mm for plastic) and that any small parts are either permanently attached or larger than the standard choke tube diameter (31.7 mm). Finally, create a bill of materials (BOM) that lists every part, its quantity, material, source, and estimated cost. This BOM will be your shopping list and budget tracker.
Step 5: Prototyping and Iteration
A toy plan is only as good as its real-world execution. Build a first prototype using inexpensive materials that mimic the final ones. For example, use cardboard, foam board, or clay to test shapes and sizes before cutting expensive wood. For mechanical prototypes, use 3D-printed parts for rapid iteration. The goal is to identify errors and improvements early. Assemble the prototype and test it with actual children (with proper supervision and consent). Observe how they interact: Do they hold it comfortably? Do they understand its intended use? Are there any unexpected issues, such as parts that break under force or functions that confuse rather than delight? Take notes and videos. Then, make modifications. This is an iterative process; you may go through several cycles of build-test-refine. For each iteration, update your technical drawings and BOM. It is common to discover that your initial design had a critical flaw—perhaps the handle is too short for a toddler’s grip, or the puzzle piece is too difficult to insert. Do not be discouraged; every iteration brings you closer to a polished product. For example, the iconic Rubik’s Cube went through dozens of prototypes before Erno Rubik perfected the internal mechanism. Document each version so you can trace your design evolution.
Step 6: Final Production Planning
Once the prototype meets your expectations for functionality, safety, and play appeal, it is time to plan for final production. Whether you are making a single toy or a batch, create a step-by-step assembly flowchart. This includes cutting, shaping, drilling, painting, assembling, and packaging. For small-scale production, list the tools needed (saw, drill, sander, clamps, paintbrushes). For larger-scale manufacturing, investigate local workshops, laser-cutting services, or injection-molding companies. Obtain quotes and lead times. Also, consider the packaging: a toy that looks great but is poorly packaged can be damaged in transit or fail to impress on a shelf. Design a simple, child-friendly package that clearly shows the toy, its name, age recommendation, and safety warnings. If you plan to sell the toy, you must comply with safety regulations specific to your region, such as ASTM F963 in the United States or EN 71 in Europe. This may involve testing for chemical content, flammability, and mechanical hazards. Factor certification costs into your budget. Additionally, write clear, concise instructions—ideally with diagrams—for assembly and use. For educational toys, include suggestions for parents or teachers on how to extend the play value. Finally, create a maintenance guide: how to clean the toy, replace batteries, or repair common wear.
Step 7: Testing, Quality Control, and Iteration
Even after production begins, the process is not over. Implement a quality control (QC) checklist. For each toy, check for visual defects (scratches, paint bubbles), dimensional accuracy (use calipers), functionality (does the gear turn? does the sound play?), and safety (pull test for small parts, drop test from a certain height). For toys intended for children under three, perform a rigorous “chew test” to ensure no small pieces can be detached. If you discover recurring issues, go back to the design or manufacturing process and make adjustments. For instance, if the paint chips off after a few drops, consider using a different paint or sealing with an extra coat. If the wheels wobble, tighten the axle tolerance. Keep a log of defects and their resolutions. This continuous improvement loop ensures that every toy you produce meets your quality standards. Additionally, consider field testing with a small group of children in a real home environment for a week. Collect feedback on durability, ease of use, and engagement. Use this feedback to fine-tune the final product.
Step 8: Marketing and Sharing Your Toy Plan
If your goal is to share your toy plan with others—whether as a DIY guide for parents, a project for makerspaces, or a commercial product—document everything clearly. Write a comprehensive step-by-step tutorial with photographs or videos. Include the BOM, tools required, estimated time, and difficulty level. For open-source projects, consider releasing your design files (CAD, SVG) under a Creative Commons license. For commercial products, patent protection might be warranted, but consult a legal expert first. You can also pitch your toy to educational magazines, parenting blogs, or crowdfunding platforms like Kickstarter. In the digital age, a well-documented toy plan can reach millions. For example, the wooden toy plans available on sites like Etsy or Instructables have inspired countless parents and hobbyists to create their own. Remember to credit your inspirations and be transparent about any risks or challenges. A good plan not only teaches someone how to make a toy but also empowers them to customize and innovate upon your design.
Conclusion
Making a toy plan is a rewarding journey that blends creativity, engineering, psychology, and craftsmanship. By following the eight steps outlined above—defining your vision, researching, ideating, detailing design, prototyping, planning production, quality control, and sharing—you can transform a fleeting idea into a tangible, delightful toy that brings joy to children and satisfaction to its creator. Remember that flexibility is key: no plan survives first contact with reality. Embrace mistakes as learning opportunities, and always keep the end user’s experience at the heart of your decisions. Whether you are building a simple cloth doll or a complex robotics kit, the principles of systematic planning will save you time, money, and frustration. So gather your materials, sharpen your pencils, and start sketching. The world of toys is vast, and your unique contribution is waiting to be born.