The Ultimate Toy Rotation System Checklist: A Parent’s Guide to Organized Play
As any parent knows, the living room floor can quickly transform from a cozy family space into a chaotic pit of mismatched blocks, half-eaten puzzles, and forgotten action figures. The solution? A well-executed toy rotation system. But where do you begin? The key to success lies not just in rotating toys, but in having a clear, actionable checklist that guides you through every step. This article provides that checklist in full, along with the reasoning behind each step, so you can create a sustainable, stress-free toy rotation system that benefits both you and your child.
Understanding the Purpose of a Toy Rotation System
Before diving into the checklist, it is vital to understand why a toy rotation system works. The core idea is simple: instead of having all toys accessible at once—which often leads to overstimulation, mess, and boredom—you split toys into smaller groups and rotate them every week or two. This approach has proven benefits: children play more deeply with fewer toys, develop longer attention spans, and demonstrate greater creativity. For parents, it means less clutter, quicker cleanups, and a calmer home environment. However, without a structured plan, rotation can feel overwhelming. That’s where the checklist comes in.
The Complete Toy Rotation System Checklist
This checklist is divided into five phases: Preparation, Curation, Storage, Implementation, and Maintenance. Follow each step in order, and you will have a system that practically runs itself.
1. Preparation: Setting the Foundation
1.1 Inventory all existing toys.
Go through every toy your child owns. Yes, every single one. Use a notebook or a spreadsheet to list the type, condition, and approximate age-appropriateness of each item. Don’t forget outdoor toys, art supplies, and bath toys. This step is crucial because you cannot organize what you do not know.
1.2 Remove broken or missing-piece toys.
Set aside any toy that is damaged, missing essential parts, or no longer safe. Recycle or discard these immediately. Broken toys only frustrate children and eat up valuable rotation slots.
1.3 Purge outgrown toys.
Separate toys that are too babyish or too advanced for your child’s current developmental stage. Store them for a future sibling, donate them, or sell them. Rotating toys works best when every item is developmentally relevant.
1.4 Clean everything.
Wipe down plastic toys, launder fabric toys, and sanitize bath toys. A fresh start makes the system feel intentional and hygienic.
2. Curation: Grouping Toys into Rotations
2.1 Define rotation categories.
Create 3–5 categories based on play type. Common categories include:
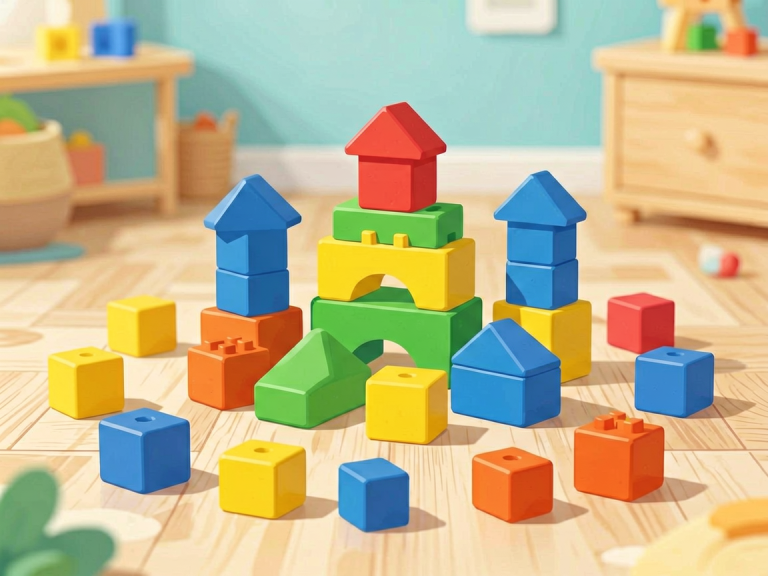
- Building & Construction (blocks, LEGO, magnetic tiles)
- Imaginative Play (dolls, action figures, play kitchen items)
- Fine Motor & Puzzles (puzzles, lacing beads, sorting games)
- Art & Craft (crayons, playdough, stickers)
- Gross Motor (balls, ride-on toys, tunnels)
2.2 Divide toys into equal-sized rotation sets.
Based on your inventory, split toys into groups (e.g., Group A, B, C). Each group should have a mix from each category. For example, Group A might have one building toy, two imaginative toys, one puzzle, and one art activity. This ensures variety without overload.
2.3 Aim for 8–15 toys per rotation.
The exact number depends on your child’s age and your home size. For toddlers, 8–10 toys is plenty. For older children, 12–15 may work. The rule of thumb: if you can’t see the floor, you have too many out.
2.4 Label each rotation set.
Use clear plastic bins or labeled shelves. Assign each set a number or a color (e.g., “Rotation 1 – Green Bin”). Labeling prevents confusion when swapping.
3. Storage: Creating a Home for Off-Rotation Toys
3.1 Choose a dedicated storage area.
A closet shelf, under-bed storage bin, or a garage shelf works well. The off-rotation toys must be completely out of sight. Out of sight, out of mind—for both you and your child.
3.2 Use opaque or semi-opaque containers.
Clear bins can tempt children to request specific toys from storage. If you must use clear bins, store them high up or cover them with a cloth. The goal is to make waiting toys invisible.
3.3 Store a “current rotation” display.
The toys currently in play should be accessible at your child’s eye level. Use low shelves, cute baskets, or a toy chest (without a heavy lid). Children should be able to see and reach all current toys independently.
3.4 Keep a “spare” box for emergency swaps.
Sometimes a toy fails to engage, or a child begs for a specific item. Have a small spare box with 3–5 high-interest toys that you can swap in mid-rotation. This adds flexibility without breaking the system.
4. Implementation: Launching the System
4.1 Introduce the system to your child.
Explain in simple terms: “These are the toys we can play with this week. Next week, we’ll have a new set.” For older kids, let them help with the swap. For toddlers, just show excitement about the new toys.
4.2 Set a rotation schedule.
Most families rotate every 7–14 days. Mark the date on your family calendar. Some parents rotate on the first of the month; others choose every Sunday. Consistency is key.
4.3 Execute the first swap.
Remove all current toys and place them into their storage bin. Then bring out the next rotation set. Do this when your child is asleep or occupied elsewhere to avoid chaos.
4.4 Observe and adjust.
Watch your child’s play for the first few days. Are they bored? Overwhelmed? If they ignore most toys, your rotation may contain too many items. If they beg for a specific missing toy, consider adding it to the spare box.
5. Maintenance: Keeping the System Running Smoothly
5.1 Perform a monthly audit.
Once a month, check each rotation set for broken toys, missing pieces, or items that are no longer age-appropriate. Replenish as needed. This prevents the system from degrading over time.
5.2 Refresh the rotation pool every season.
Children’s interests change with age and season. Summer might call for more outdoor toys; winter for puzzles and crafts. Every three months, re-curate your rotation sets to reflect current needs.
5.3 Involve your child in the cycle.
As children grow (around age 4–5), let them choose which toys to rotate out. This gives them a sense of control and teaches decision-making. For younger kids, simply narrate the process: “We’re putting the fire trucks away so they can rest, and next time they’ll be like new!”
5.4 Track success with a simple log.
Keep a rotation log: note the start date, the toys in the set, and any observations (e.g., “Child loved the magnatiles, ignored the puzzles”). This data helps you fine-tune future rotations.
Real-World Tips for Common Challenges
Even with a checklist, you may encounter hurdles. Here are quick solutions:
- Child resists swapping: Let them keep one or two favorite toys across rotations. Call it the “always out” basket.
- Too many toys total: Be ruthless. If you have 200 toys, you need to purge half. A good rotation system cannot function with excessive inventory.
- Partner doesn’t cooperate: Share this checklist with your spouse or co-parent. Explain the benefits in terms of reduced cleaning time. Do a team swap once a week.
- Baby sibling complicates things: Keep a separate small rotation for infants. Their toys should be safe and size-appropriate. You can combine rotations once the baby is older.
The Long-Term Benefits of the Checklist Approach
Adopting a toy rotation system checklist like the one above transforms playtime from a source of stress into a source of joy. Children learn to appreciate their toys more deeply, develop better focus, and engage in creative play that isn’t driven by novelty alone. Parents reclaim their living space and spend less time policing mess. And perhaps most importantly, the system adapts as your family grows. This isn’t a one-time fix—it’s a living framework that evolves with your child’s development.
By following each step diligently, you will not only reduce clutter but also foster a calmer, more intentional home environment. The checklist ensures you never skip a critical step, such as purging broken toys or cleaning before storage, which are common pitfalls. So gather your bins, sharpen your labels, and launch your toy rotation system today. Your future self—and your child—will thank you.